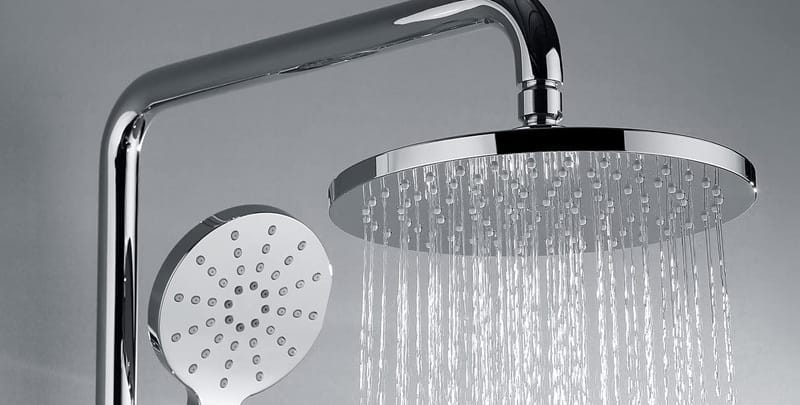
Found Yourself with a Leaking Shower?
Blocked drains and leaks happen but probably among the most challenging ones is how to fix a leaking shower. The sound of relentless shower head drip, the sight of rising water bills, and the lurking fear of water damage to your precious bathroom – all these certainly upset your peace of mind.
Bathroom fixtures need to be looked after and your shower system is at the top of that list.
This comprehensive guide is here just for you. There’s no need to put up with constant dripping or wet patches on the bathroom floor any longer. Pull up your sleeves; we are going to explore different ways to diagnose and fix a leaky shower head.
The Complexity of Shower Leaks
You’ll be surprised by the variety of sources your shower leak could spring from; everything from a leaky shower tap or faulty tap washer, to shower heads that won’t stop dripping.
But every problem has a solution (or multiple, in this case). So, let’s drill down into common sources of shower leaks, and how you can troubleshoot them.
Faulty Plumbing
One of the usual suspects for a leaking shower is problematic plumbing. Remember, behind every shower head is a complex web of pipes and connections hidden behind the walls, and they can naturally cause some trouble over time. Here are the most common plumbing-related leak causes:
- Corroded pipes
- Loose connections
- Pipe damage due to freezing or other external factors
- Leaking valve connections
- Damaged or worn-out seals
Do keep in mind that even the most basic plumbing tasks that do fit in the DIY-friendly category, such as changing a washer or unclogging a blocked toilet, need a level-headed approach and some hands-on skills.
In most cases, you’re even required by law to have a licensed plumber complete most major plumbing tasks for you instead of attempting them yourself. Want to fix a leaking shower tap? Don’t think twice before calling a professional plumber who has the right tools and experience to fix these leaks more efficiently.
Structural Problems
Sometimes, the leaky shower isn’t just about the plumbing. It might be a symptom of structural issues in your bathroom. Here are some examples:
- Water seeping through damaged tiles and grout
- Cracks or deterioration in the shower pan
- Inadequate shower membrane installation
Fixing these structural problems might require you to dive deeper, often involving bathroom renovations and waterproofing your shower screens. Do seek professional help if you’re unsure about this because guaranteeing the integrity of your shower floor and now dripping shower head, in the long run, is way better than making temporary fixes.
Water Pressure Imbalance
An uneven water pressure issue in wet areas of your plumbing system can result in shower drain leaks. Water pressure imbalances can cause pipes to vibrate or even burst, leading to leaks in various areas, including the drain of your shower.
Diagnosing and correcting water pressure imbalances is a task best left to professionals who can assess your entire plumbing system and make the necessary adjustments to balance water pressure throughout your home.
Subpar Installation
Improper shower installation is a frequent cause of leaks. It’s not unusual for inexperienced or unqualified individuals to install showers improperly. Whether it’s the incorrect installation of a used shower valve, a poorly sealed shower pan, improper waterproofing, or other installation issues, a lack of professional expertise can lead to future leaks.
The right installation requires proper preparation, quality materials, and precise workmanship. Relying on a certified installer is crucial for avoiding these issues.
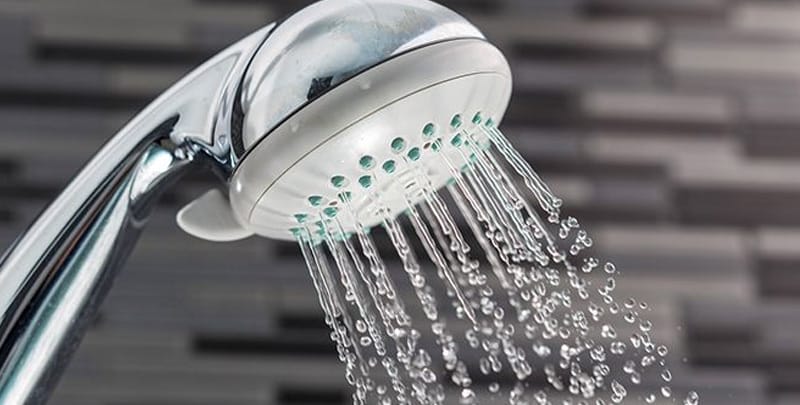
How to Change a Leaking Shower Head
If your initial diagnosis leads to a solution that concerns changing your entire shower head itself, this is an easy fix that you can do by yourself with basic plumbing skills. Here’s how you can do it:
Necessary Tools and Materials
If you don’t have these on hand, pop down to your local hardware store and pick up:
- New shower head
- Adjustable wrench or pliers
- Plumber’s tape (Teflon tape)
- Old cloth or rag
- Towel
Step-by-Step Guide
Follow these four steps to remove a leaking shower head:
Step 1: Turn Off the Water
The first thing to do is shut off the water supply to your shower. Usually, you’ll find a shut-off valve in your bathroom. If there’s no dedicated valve for the shower, you might need to shut off the main water supply to your entire house.
Step 2: Remove the Old Shower Head
If your older shower has a cover or escutcheon plate, carefully remove it. It’s usually held in place by screws or snaps. Use a screwdriver or your fingers to take it off.
Use an adjustable wrench or pliers to grip the old shower head. Turn it anticlockwise to unscrew it from the water pipe. If the rubber washer shower head is difficult to remove, you can use a cloth or rag to protect the finish and provide a better grip.
Step 3: Clean the Threads
Once you’ve removed the old shower head, you may notice some old plumber’s tape or debris on the threads of the water pipe. Clean these threads using a damp cloth.
Step 4: Apply Plumber’s Tape
Take a roll of plumber’s tape (Teflon tape) and wrap it clockwise around the threads of the shower arm and the water pipe. Make sure that the tape covers the threads completely. This tape helps create a watertight seal between the shower head and the pipe.
Step 5: Attach the New Shower Head
Carefully screw the new shower head onto the water pipe by turning it clockwise. Hand-tighten it as much as possible, and then use an adjustable wrench or pliers to give it a final snug turn. Be cautious not to overtighten, as this can damage the shower head or the pipe.
If your new shower head has an escutcheon plate, attach it to the wall using screws or snaps.
Step 6: Turn On the Water
Slowly turn on the water supply to the shower. Check for any leaks around the connections. If you see any leaks, gently tighten the shower head a bit more.
Make sure both the hot and flow through the new shower head without any issues.
Step 7: Adjust the Spray Pattern (if applicable)
Some shower heads have adjustable settings for the spray pattern. Adjust the settings according to your preference.
Step 8: Test the Shower
Step into the shower and test the new showerhead. Make sure that the water pressure and spray pattern meet your expectations.
Congratulations! You’ve successfully replaced your leaky shower head. If you encounter any difficulties during the installation or if you experience a persistent leaky showerhead, the best solution is to consult a professional plumber for assistance.
The Role of a Professional
We all love the satisfaction that comes with fixing things yourself, but there are times when calling in a professional is the practical (and cheaper) approach.
They bring accurate diagnosis to the table, compliance with regulations, insurance benefits, and most importantly, peace of mind. A professional touch can be invaluable in guaranteeing a long-term, watertight solution.
Here’s why:
- Accurate diagnosis: Professionals have the experience and tools needed to accurately diagnose the source of water flow and the hard water leak. Their expertise guarantees that the real issue of water leaking is identified and addressed, preventing unnecessary costs and additional damage.
- Comprehensive solutions: Professional plumbers and contractors offer comprehensive solutions, addressing not only the visible symptoms but also the root causes of the leak. Their solutions are designed to be long-lasting and effective, preventing recurring issues.
- Compliance with regulations: Shower repairs and renovations must often follow local building codes and regulations. Professionals are well-versed in these requirements, making sure that the repair work will not cause water wastage and an increased water bill.
- Insurance: Hiring a professional to fix or replace your leaking shower can help you avoid issues with insurance claims. Many insurance policies require licensed professionals to do work to be eligible for coverage.
Finding a Watertight Solution
Dealing with a leaking shower can be a major inconvenience, but it’s crucial to recognise the complexity and variety of potential issues that can cause such leaks.
While there may be some minor fixes that you can try on your own, the majority of shower leaks require the skills and knowledge of a professional plumber or contractor.
The sooner you contact a professional who knows how to fix a dripping shower head, the quicker you can put an end to the incessant drip and safeguard your bathroom from more significant structural damage.
Remember that regarding fixing a serious leaking shower head, it’s wise to trust the professionals to provide a lasting, watertight solution and prevent leaks again.
Contact the experts at Mr Emergency today for the full range of bathroom plumbing services.
Please note: This information is provided for advice purposes only. Regulations differ from state to state, so please consult your local authorities or an industry professional before proceeding with any work. See our Terms & Conditions here.