How to Fix a Toilet That Keeps Running
More than a drip, less than a burst pipe, a toilet that keeps running treads ground in that middling territory, where the sounds of running water and wastage are frustrating but maybe don’t warrant the time and costs of hiring a plumber.
The good news is that you can fix a running toilet yourself with minimal-to-no plumbing experience whatsoever. You will need some basic hand tools and potentially replacement parts, should they cause the constantly running toilet.
A running toilet is a common problem that could be fixed for under $50 and around an hour of your time. If your toilet runs constantly and you fail to fix it, it can result in:
- A higher water bill
- Flooding and water damage
- Frustration/sleepless nights
- No water to flush the bowl
You’d be using more water than usual, so expect higher rates. The cistern could also overflow, damaging the surroundings, and if it were to drain constantly, there would be no water left to use for the flush. It may also affect the water flow to your other fixtures.
If the water pressure is high, you could hear the water hammer turning on and off again or a slow trickle constantly throughout the day and night. You’re wasting water and it’s a lot of unnecessary drama when the fix can be simple.
It is among the most common toilet problems. So, here’s what you need to know to fix a running toilet:
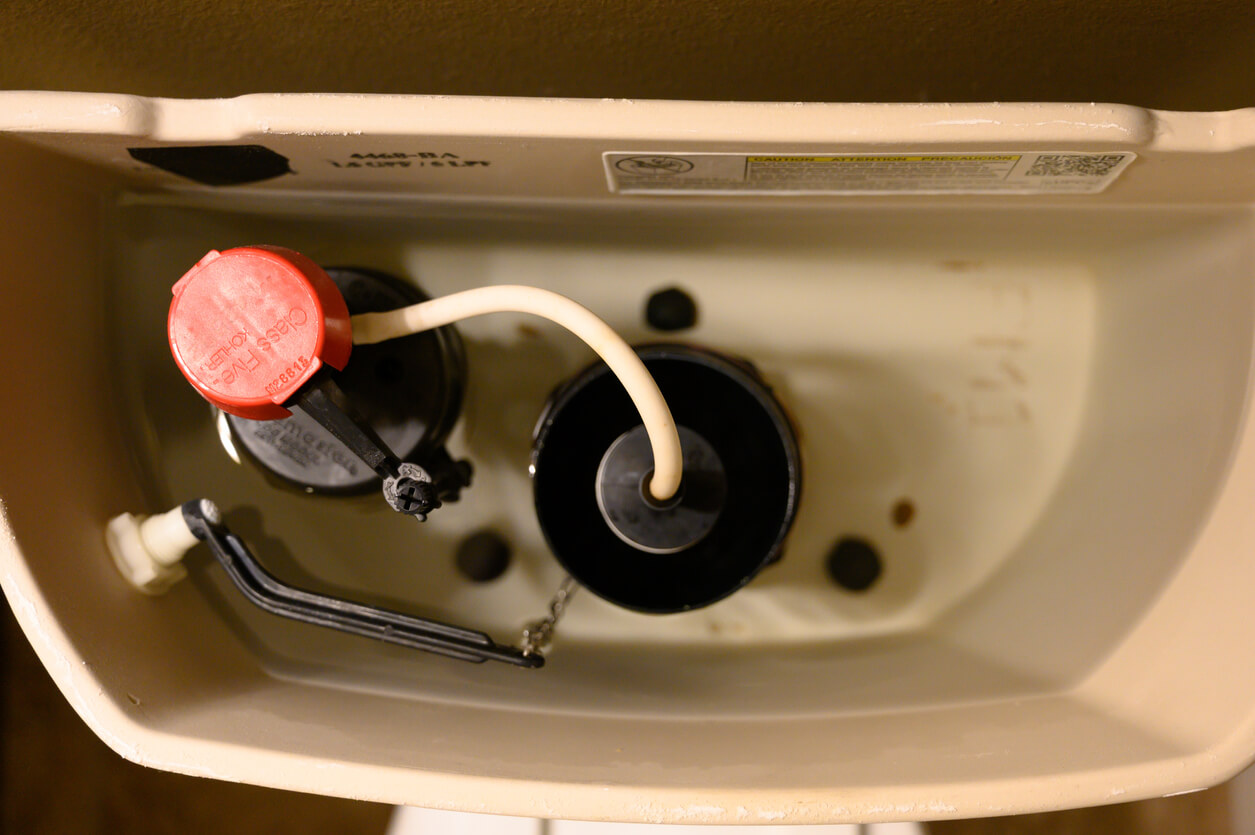
Understanding the Toilet Cistern
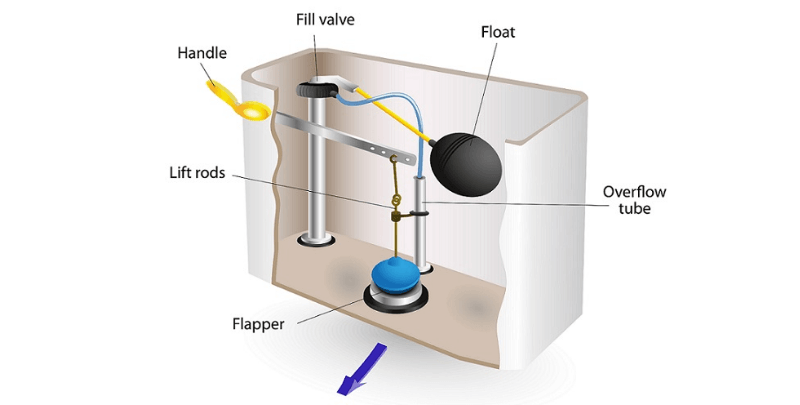
Before you start rummaging around in the cistern, take a moment to understand the parts and their functions. The diagram above provides a good indication of what you will find once you open the tank lid, even though your toilet tank may differ slightly:
- Handle or flush lever (or flush valve)
- Flapper
- Lift rod or chain
- Fill valve (or water supply valve)
- Float and float arm
- Overflow tube or overflow pipe
Despite all the parts at play, the cistern’s operation is straightforward and relies on gravity to do the heavy lifting.
The handle or flush valve connects to a lift rod or a chain for the flapper to lift, and water runs into the bowl, flushing its contents.
As the cistern empties, the float lowers, opening the fill valve (or water supply valve) and bringing water into the cistern for the next flush.
The flapper returns to its original position closing off access to the bowl, and the rising water returns the float to its original closed off position.
The overflow tube is a backup. It empties excessive water into the bowl as required, so the cistern doesn’t overflow.
The parts in your cistern may look different, but they should serve essentially the same functions.
What Causes a Running Toilet?
There’s more than one reason why a toilet continues to run water long after you’ve flushed. These are the most common causes:
- Water level too high: The water level within the cistern is too high. It’s continually filling the overflow tube and running into the bowl. The overflow tube directs excess water into the bowl so it doesn’t spill over onto the floor.
- Water-logged float: A damaged float can take on water, sinking below the surface and leaving the fill valve open to continually allow more water to fill the cistern, which goes into the overflow tube.
- Worn flapper: The flapper is damaged from years of use or mineral deposits and debris. This causes it to degrade and allows water to pass through into the bowl.
- Faulty fill valve: The water supply valve could fail for any number of reasons leaking water into the cistern and filling the overflow tube.
- Lift rod positioning: Whether installed incorrectly or shifted from years of use, a lift rod that’s not aligned with the flapper could fail to close, keeping water flowing through.
And now, we’ll tell you how to fix it.
What you will need:
- Slip joint pliers
- Flathead screwdriver
- Multi-grip pliers
- Tape measure
- Replacement parts
- Sponge
- Towel for spills
Replacement parts may be required, but you should hold off purchasing any until the problem is identified. Most can be sourced from a large hardware store or through a trade and plumbing supplier.
Note: The below advice is suitable for a common freestanding toilet. The steps are not suited to tankless toilets and those with a cistern concealed within the wall or under the floor.
Note: It’s recommended that you take photos of the cistern before disassembly to use as a reference when reassembling the unit.
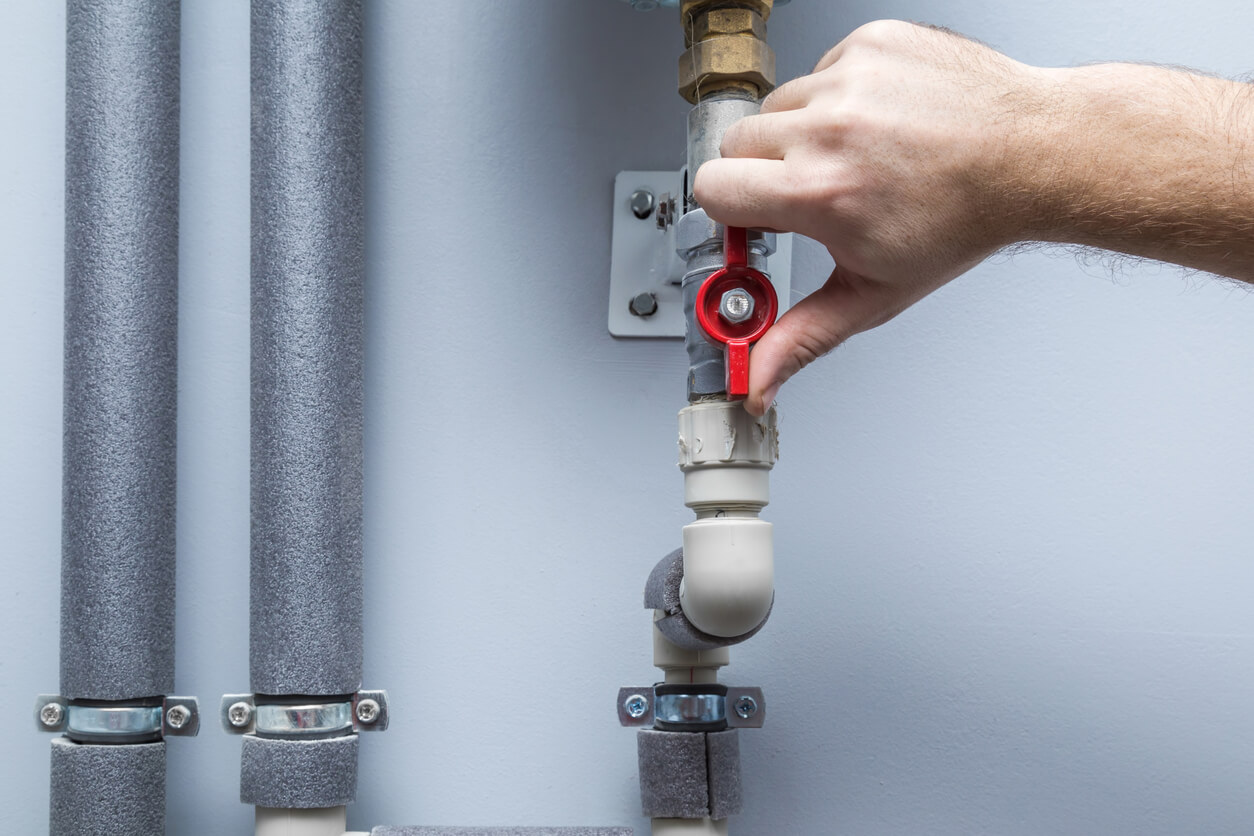
1. Turn off the Water Supply
The water supply line is the silver hose that connects your toilet to the wall. At the wall is a tap or valve. Turn it counterclockwise to shut off the water supply for the time being. You may require pliers or multi grips to make this happen. Flush the toilet to empty the cistern before investigation.
2. Remove the Cistern Tank Lid
The method for removing the cistern lid will differ depending on the toilet in use. Some models simply lift straight up off of the cistern.
The standard dual flush toilet with metal flush buttons is slightly more complex. Hold one of the two buttons down, and you can see a small indent in the other button.
Use a flathead screwdriver in this space to leverage the button up, then pull it out. Repeat the same for the other button. You are then greeted by a plastic plug that unscrews, and then you can simply lift the lid off the cistern.
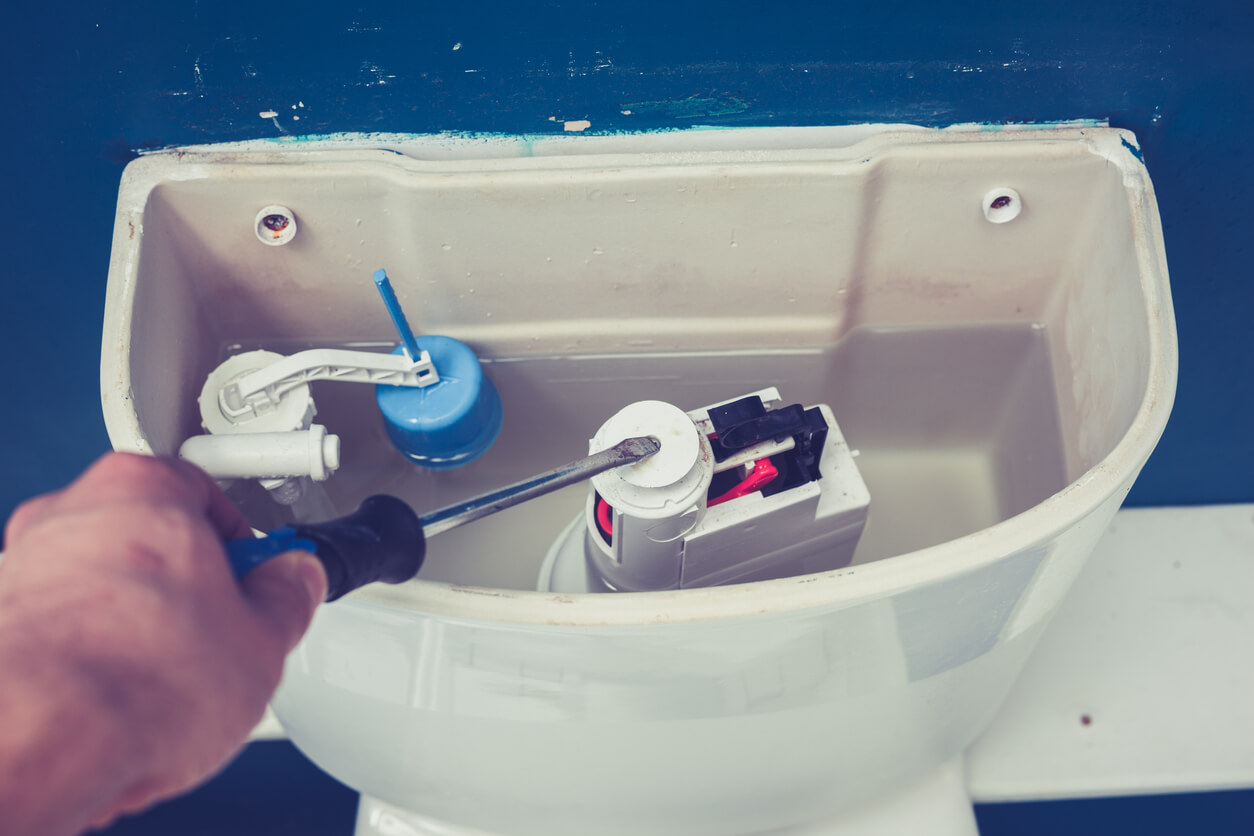
3. Perform a Visual Check
Before removing anything, perform a visual inspection of the parts mentioned above. The issue may be obvious, saving you exploratory work. If so, skip to the appropriate step or work through the list until you’ve identified the problem at hand.
Take a sponge and use it to absorb any remaining water from the cistern that may interfere with your check.
4. Start with the Flapper
The toilet flapper creates a seal between the cistern and toilet bowl. Check that the flapper is sealing properly. It may be caked with years of build up.
If required, remove the flapper from its lift rod or chain and clean with vinegar and an old toothbrush.
If the seal is beyond repair, it’s time to throw out the old flapper and purchase a replacement.
Also, check the attached rod or chain, ensuring it’s aligned correctly and not too tight. Adjust accordingly.

5. Check the Water Level
The next most common cause of a running toilet is the water level. Turn on the water supply and allow the cistern to fill. This will help you identify the water level and determine if it’s too high.
The water level will vary from toilet to toilet, but it should be between 2.5cm and 4cm below the top of the overflow tube.
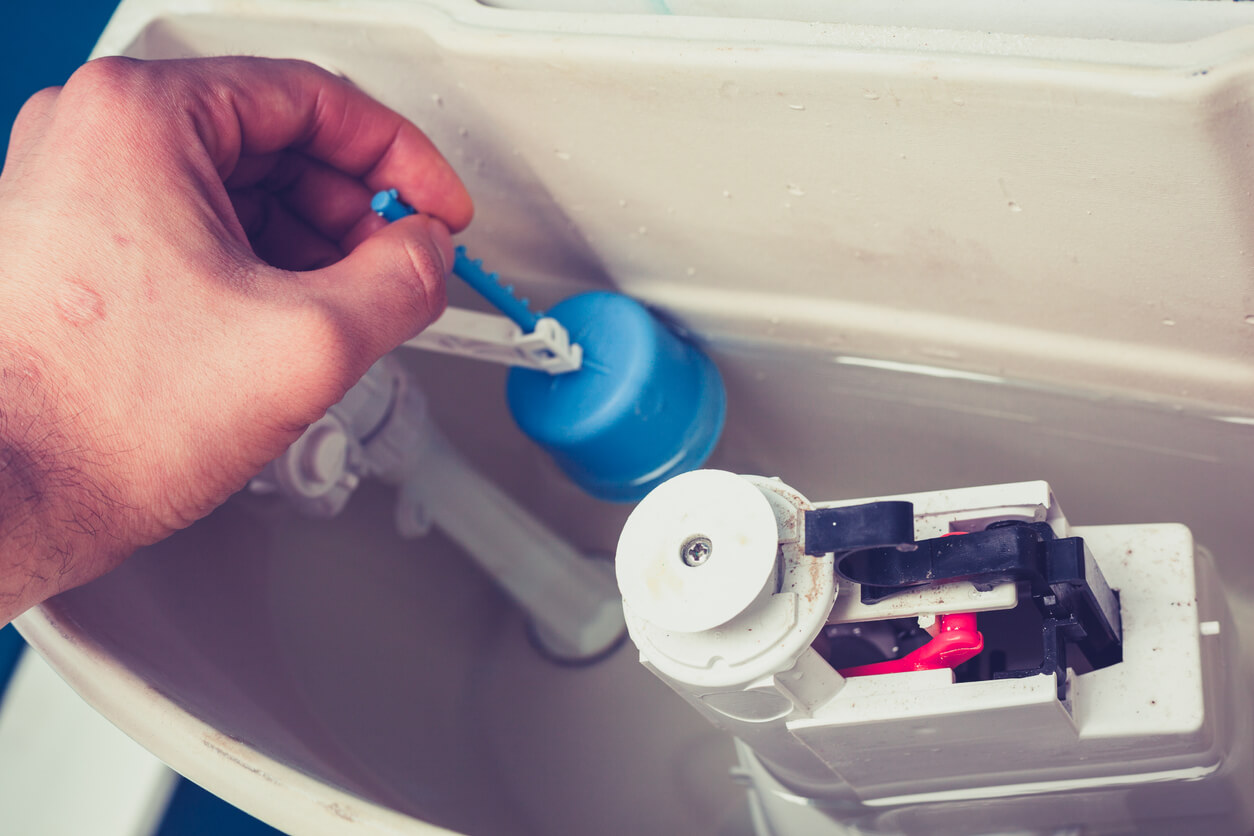
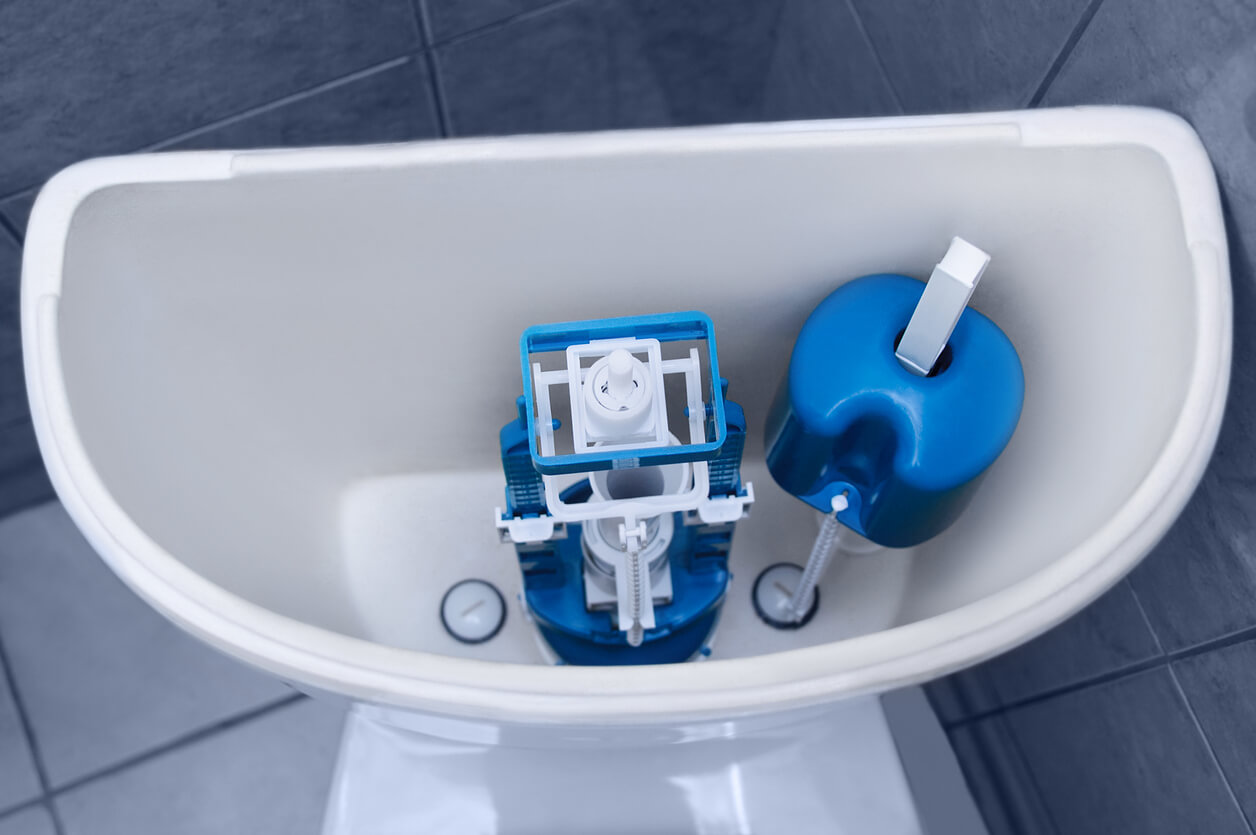
6. Lower the Float
If the water level is too high, you will need to lower the float. A float at the wrong height lets too much water in through the fill valve.
First, check the float to determine if it has water inside. If so, it’s damaged and needs replacing.
There are two types of float: A float ball and a float cup. They look just like their names, and so it should be easy to discern their differences. Make sure you purchase the right one.
The float is attached to an arm. Follow the arm to its connection atop the fill valve. Next, turn the adjustment screw counterclockwise to lower the float to the ideal height below the overflow tube. This method should be the same regardless of the float in use.
7. Empty the Cistern Again
If the problem persists, shut off the water supply and empty the cistern by flushing. Use the sponge again as required. There are a few more parts we need to check.
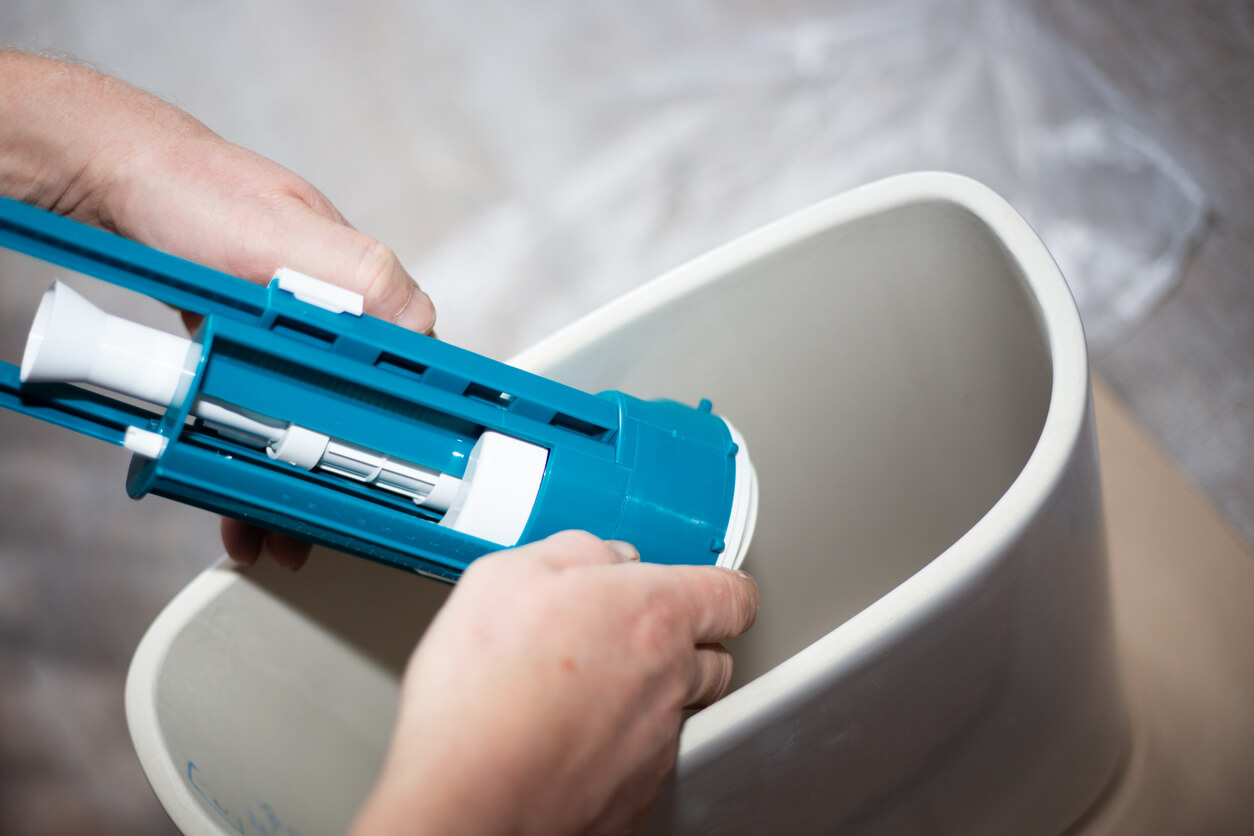
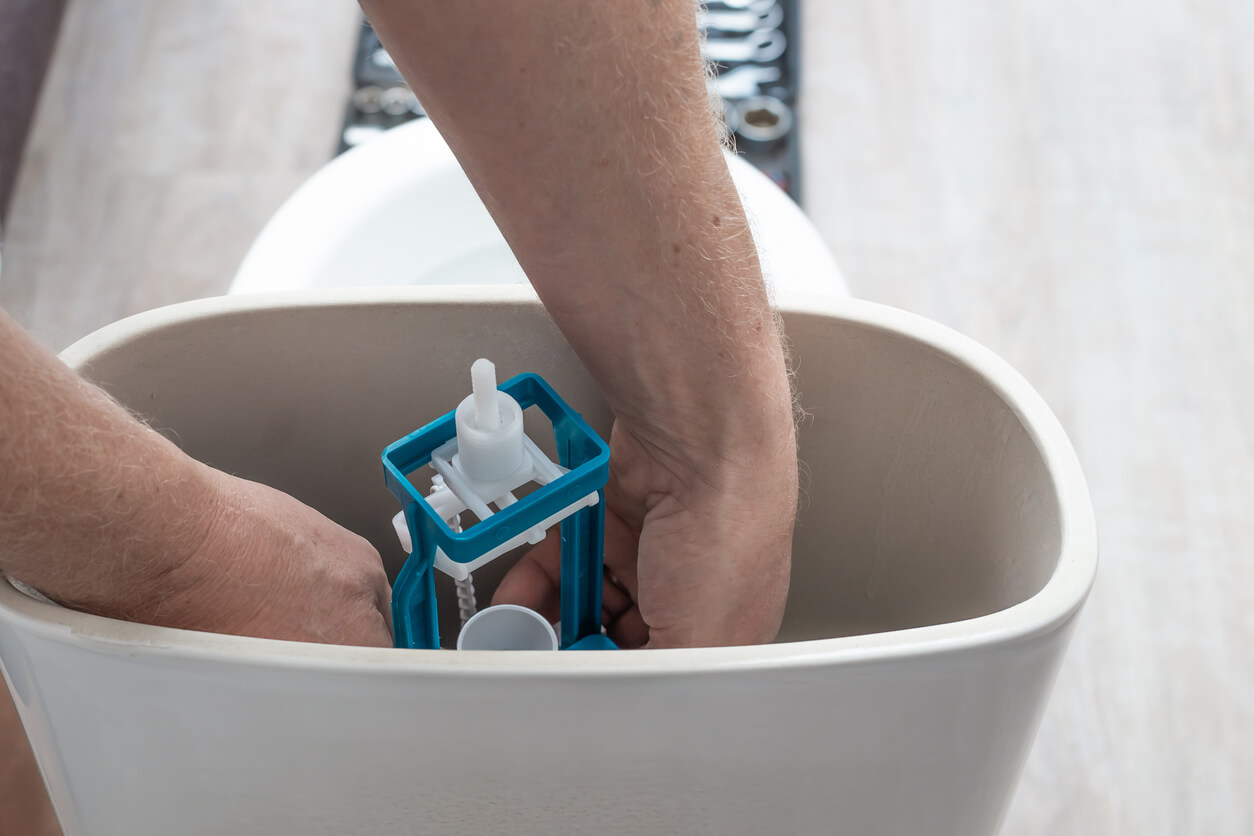
8. Check the Fill Valve
Connected to the float is the toilet fill valve. This is a long tube that brings water into the cistern. Again, check for visible damage and signs of build up. The valve can be unscrewed at its base. Give it a brush and vinegar clean if required.
Replace the valve if damaged. We suggest taking the old valve with you as a reference for the new purchase.
9. Check the Overflow Tube
Perform similar checks as above. We’re looking for signs that water may leak through into the bowl. Swap out the damaged one for a new purchase if required.
10. Call a Plumber
If you’ve made it to step 10, then the problem is, unfortunately, more severe than anticipated.
This is the point where we recommend contacting a professional plumber to determine why there’s water running and to provide the necessary repairs.
You don’t want to take apart the entire flush valve assembly or any other complex maintenance. It could be something significant like damage to the cistern itself and warrants an expert’s advice.

Time to Contact a Professional
Hopefully, the above steps provided everything you need to know about constantly running toilets. Maybe the flapper needs cleaning or perhaps it’s time for a new fill valve. Either way, you should be well equipped to take care of it and save some money along the way.
Whether it’s a leaking toilet, a clogged toilet or some other plumbing problem, Mr Emergency is available 24/7. We can repair your toilet and offer emergency response times of under 30 minutes*.
Please note: This information is provided for advice purposes only. Regulations differ from state to state, so please consult your local authorities or an industry professional before proceeding with any work. See our Terms & Conditions here.